|
|
 Once the FireFly is at cruise altitude with an air temperature 70 degrees F or less, there is no danger of running out of radiator capacity. But if air temperature is 70 degrees or higher on the ground and with the radiator shutter completely open, I have to limit engine rpm to keep the coolant temperature below the upper limit.
Part of the cooling problem can be attributed to the fact that air pressure drop is not a uniform across the all areas of the radiator core. The pressure drop will be the highest in the center and then it will fall off toward the edges as the air begins to spill sideways and off the edge of the core. To help maintain a more uniform pressure distribution, a two-inch deep air dam was attached to the upwind side of the radiator. To save weight, the dam was restricted to the core area. Total air dam weight was 0.9 ounces. Material used was 0.010-inch thick aluminum house flashing. |
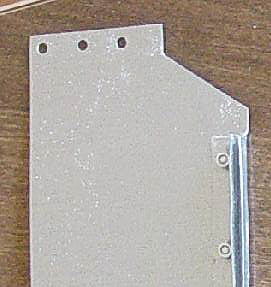
The sides are mirror images of each other. To keep the sides from bowing out from the pressure, a small lip was bent onto the trailing edge. The to further stiffen the side, a small "L" strip was made and riveted in front of the first. The gap between was placed over the lip of the radiator frame. Before the side put into place the gap was filled with JB Weld. Then the upper edge was slid under the shutter frame and onto the radiator frame lip at the same time. Rivets between the top and bottom pieces hold the whole thing together |
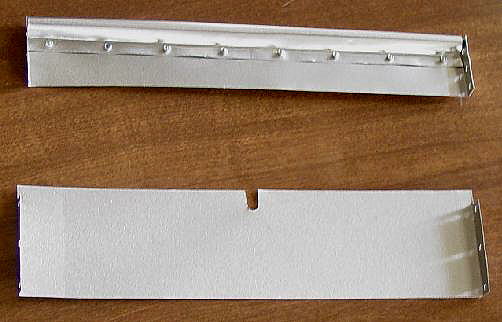 The topside is shown up side down. It has a roll on the trailing surface that will be placed under the radiator shutter roll mechanism. Stiffening was necessary to prevent surface from bowing upward and interfering with the shutter.
No stiffening was required for the bottom surface as it could be cut a little longer and the trailing surface supported on top of the lower radiator tank. The slot accommodates the feed tube for the woven fish line that activates the shutter. |
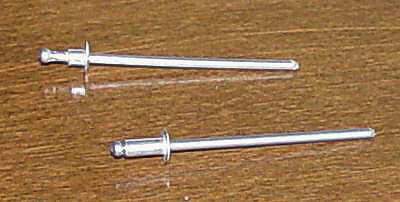 3/32-inch OD aluminum rivets were used to hold the assembly together.
First the sides were put into place, and then the upper and lower surfaces were put into place and riveted.
3/32-inch OD aluminum rivets were used to hold the assembly together.
First the sides were put into place, and then the upper and lower surfaces were put into place and riveted.
The rivets were shortened to fit the material thickness. |
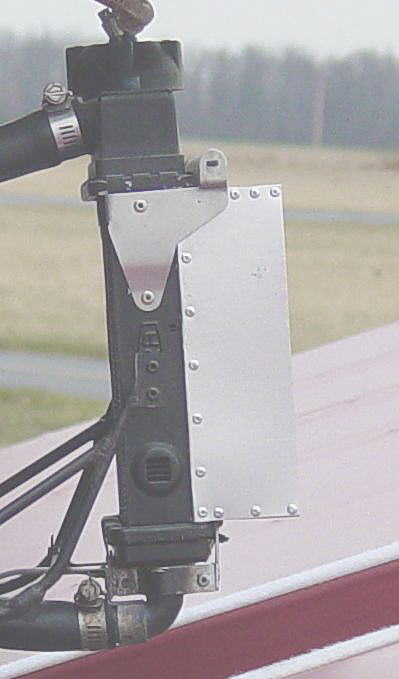
 A front view off to the right side after the installation was completed. There may be a little pressure bleed off at the top due to not being able to completely seal off around the shutter.
Removing the fabric air dam from the bottom of the radiator to the soft gap seal saved 0.2 ounces. Will it work? Warm weather is coming. |